
 Step by step
Know-How
Creeping Rosemary cuttings
A step by step guide for propagating Creeping Rosemary by using semi-ripe cuttings.
- Autumn
- Beginner
- A quick job
- Propagation
- Herbs
- 12 steps
Creeping Rosemary, Rosmarinus officinalis 'Prostratus', is easy to propagate from semi-ripe cuttings. With a few basic supplies you can turn one healthy plant into several.
You will need a sharp knife, compost, a terracotta pot and some root hormone liquid. The twelve steps below take you from the parent plant to young plants ready for the garden border.
1. Take semi-ripe cuttings
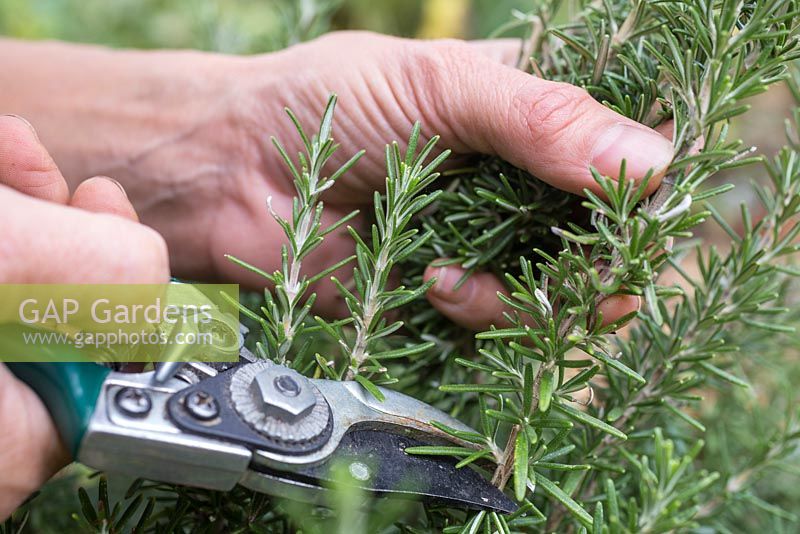
Begin by taking semi-ripe cuttings from your Creeping Rosemary. Choose healthy shoots from the parent plant and snip off several, so that you have a few spare in case some don't take.
Keep the cuttings together and get on with the next steps promptly, so they don't dry out.
2. Fill a pot with compost
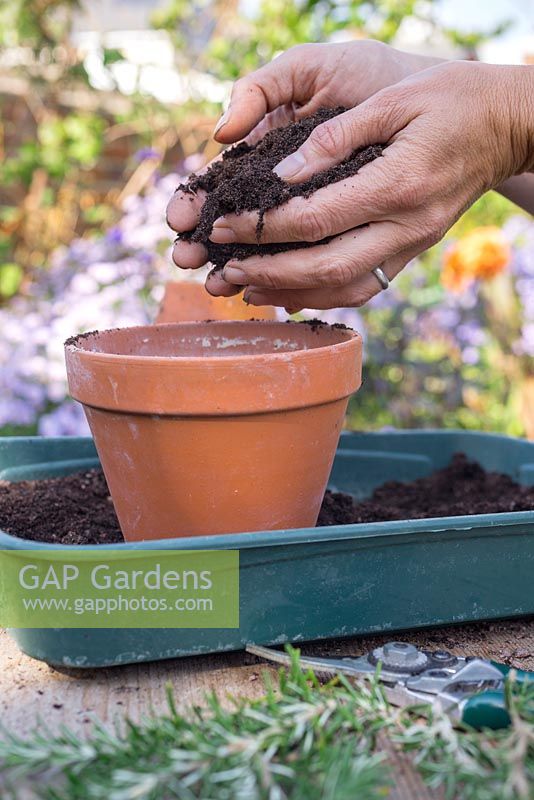
Fill a terracotta pot with compost, working it in until the pot is full. A clay pot is a good choice here, and one pot is plenty to hold the whole batch of cuttings while they root.
Lightly firm the compost so it is ready to receive the cuttings.
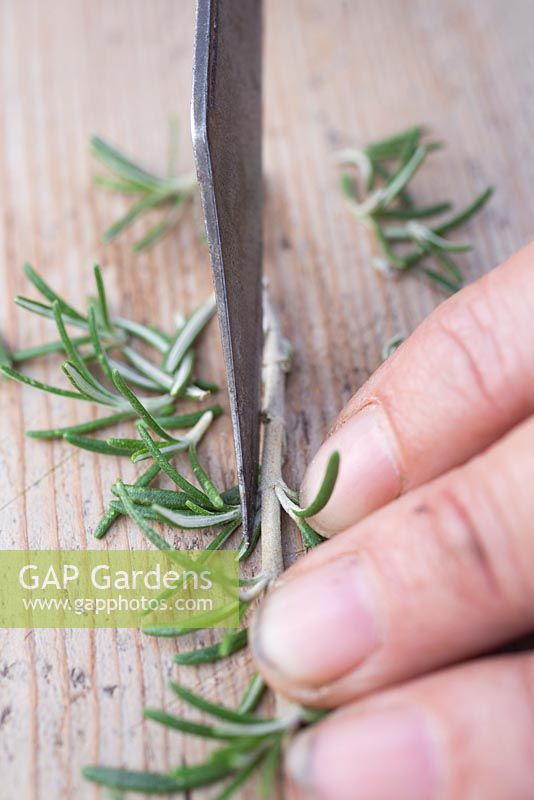
3. Trim the base of each cutting
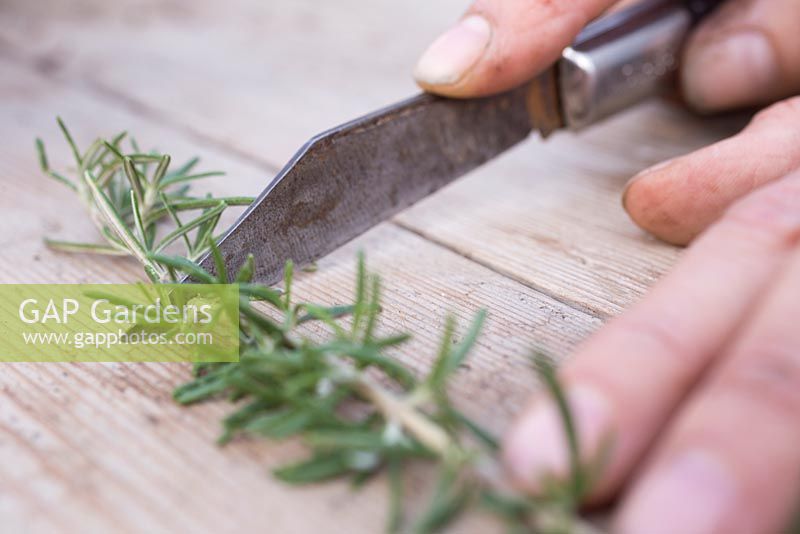
Use a sharp knife to remove 2cm from the bottom of each cutting. A clean cut is kinder to the stem than a ragged one, so make sure your blade is sharp.
Do this to every cutting before moving on.
4. Strip the side leaves
Remove the side leaves from the lower part of each cutting, leaving the top section intact. The bare stem is the part that will go into the compost, while the leafy tip stays above the surface.
Work carefully so you don't tear the stem as you pull the leaves away.
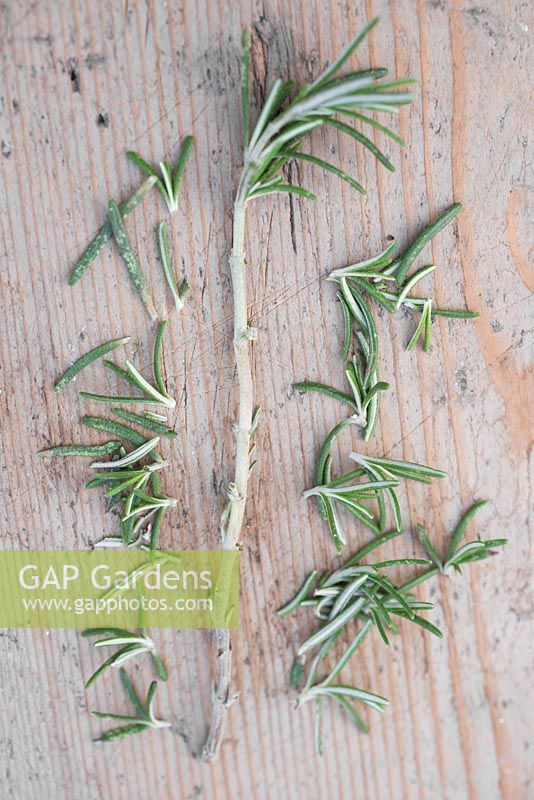
5. Check your prepared cutting
Each cutting should now have its side leaves removed and a neatly trimmed base, with a tuft of leaves at the top. At this point it is ready to be planted.
Take a moment to look over the whole batch and put aside any that look damaged.
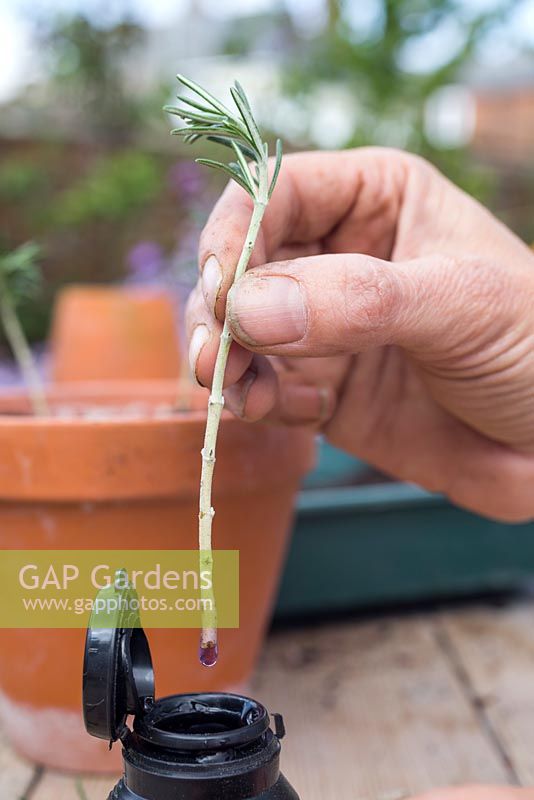
6. Dip in root hormone
Submerge the base of each Creeping Rosemary cutting in root hormone liquid. This helps the cutting along as it gets going.
Follow the instructions on the bottle, and plant each cutting straight afterwards.
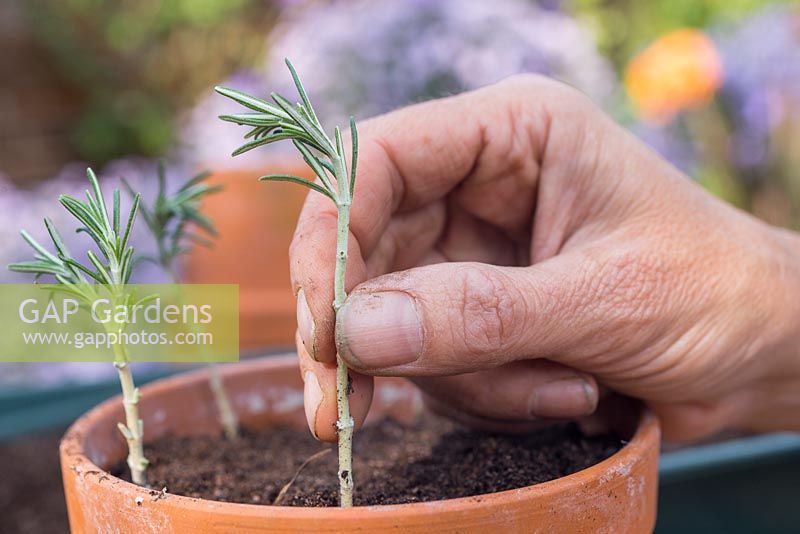
7. Plant the cuttings
Plant the cuttings in your terracotta pot of compost, making sure they are equally spaced apart. Even spacing gives every cutting room, and helps stop the leafy tops from crowding one another.
Firm the compost gently around each stem.
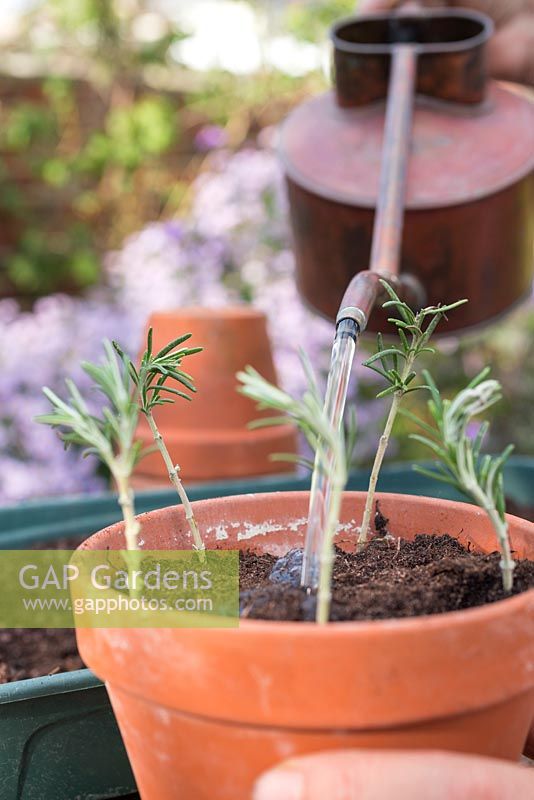
8. Water them in
Water the cuttings well after planting. This settles the compost around the stems and gives the cuttings a good start.
Keep an eye on the pot in the following days, so that the compost never dries out completely.
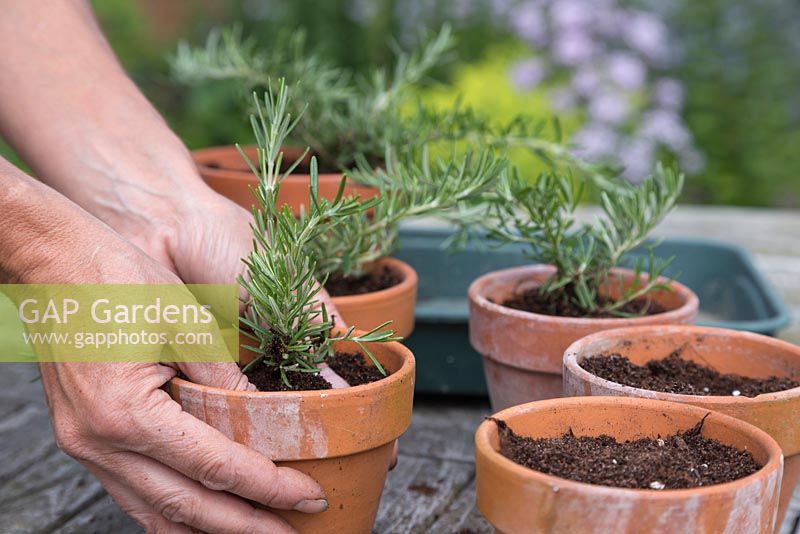
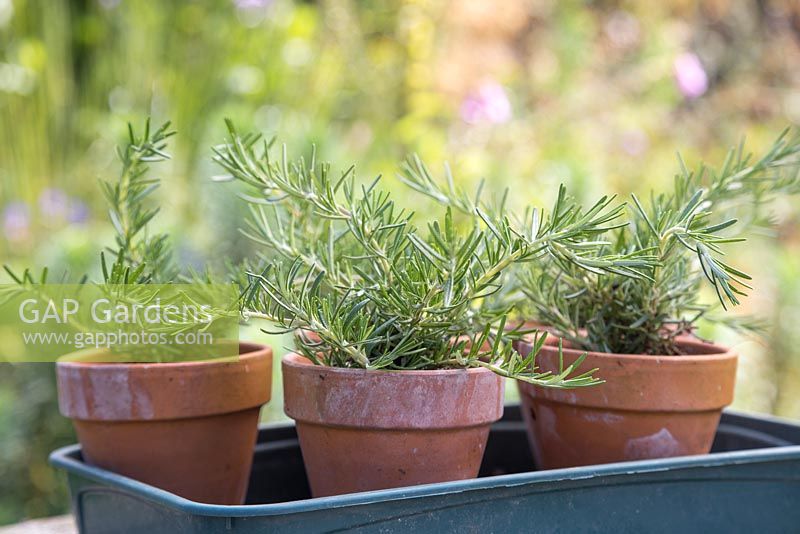
9. Pot on individually
Once the cuttings have settled and are growing, pot them on into individual terracotta pots. Giving each plant its own pot means it has space of its own to develop.
Handle the young plants carefully, and fill around each one with fresh compost.
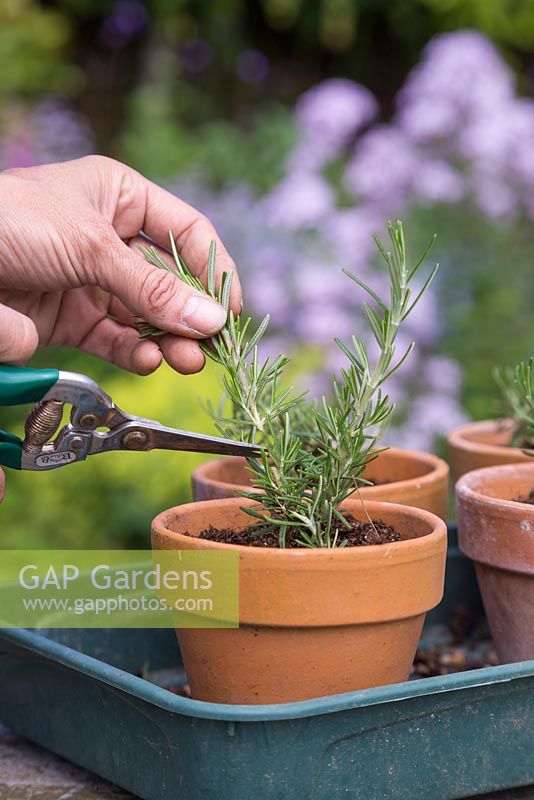
10. Remove some side shoots
Take off some of the side shoots on your young plants. This encourages each plant to bush out rather than growing in a single direction.
You only need to remove some, so be selective and leave plenty of healthy growth.
11. Let the plants establish
Allow your Creeping Rosemary plants to grow on until they are well established. They should look sturdy and leafy, a good sign that the cuttings have taken.
This is a good time to look them over and choose the strongest for planting out.
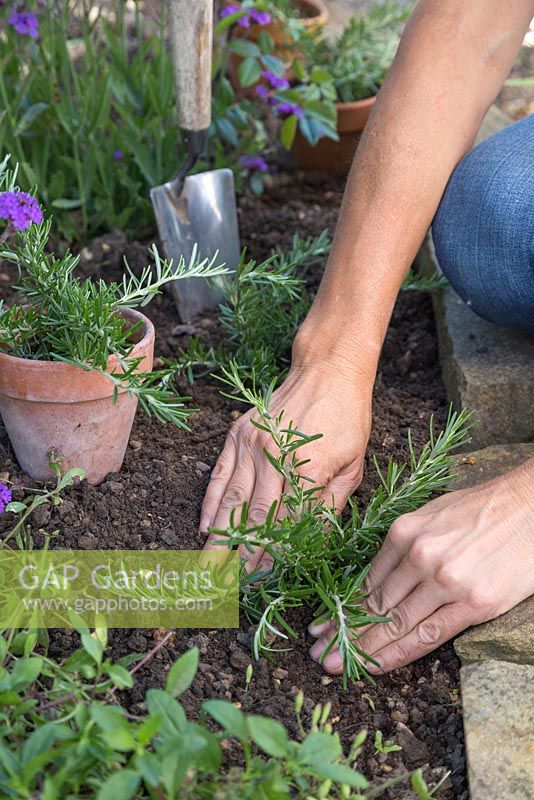
12. Plant out in the border
Finally, plant your Creeping Rosemary out into a garden border. Your well-established young plants can now grow where you want them.
From a few snips off one plant, you now have new Rosmarinus officinalis 'Prostratus' for the garden.
Photos © GAP Photos